How to verify spacer fit
To verify spacer requirements for mounting a 10-speed cassette on a Mavic freehub, first confirm that your setup uses a Shimano HG-compatible freewheel body, then check the cassette manufacturer's fit or installation instructions for your exact cassette. The Mavic Freewheel Body needs to be compatible with both the freewheel mechanism of your wheel and the cassette that matches your bike's drivetrain, so that is the first check before deciding on fit details.
If your wheel uses a Shimano HG-compatible setup, confirm compatibility with your specific freewheel body and cassette standard before deciding on fit details. In practical terms, that means identifying the freewheel mechanism on the wheel, confirming that the body is the correct Shimano HG version, and then checking your cassette maker's guidance for that cassette. Compatibility depends on matching the freewheel mechanism and cassette standard for your setup.
A good next step is to inspect the current body, identify the freewheel mechanism, and then verify that your cassette matches the cassette standard supported by that freewheel body. After that, check the cassette manufacturer's instructions for installation details and confirm the setup is secure. If you want a second set of eyes before you torque anything down, a Gearhead® Expert can help you sort the interface before your workbench turns into a parts puzzle.
Why the right freewheel body matters
The Mavic Freewheel Body keeps compatibility from becoming a garage-floor guessing game. Instead of treating every rear hub and cassette like they speak the same language, it focuses on the two things that actually matter: which Mavic freewheel mechanism your wheel uses and which cassette standard your bike's drivetrain requires.
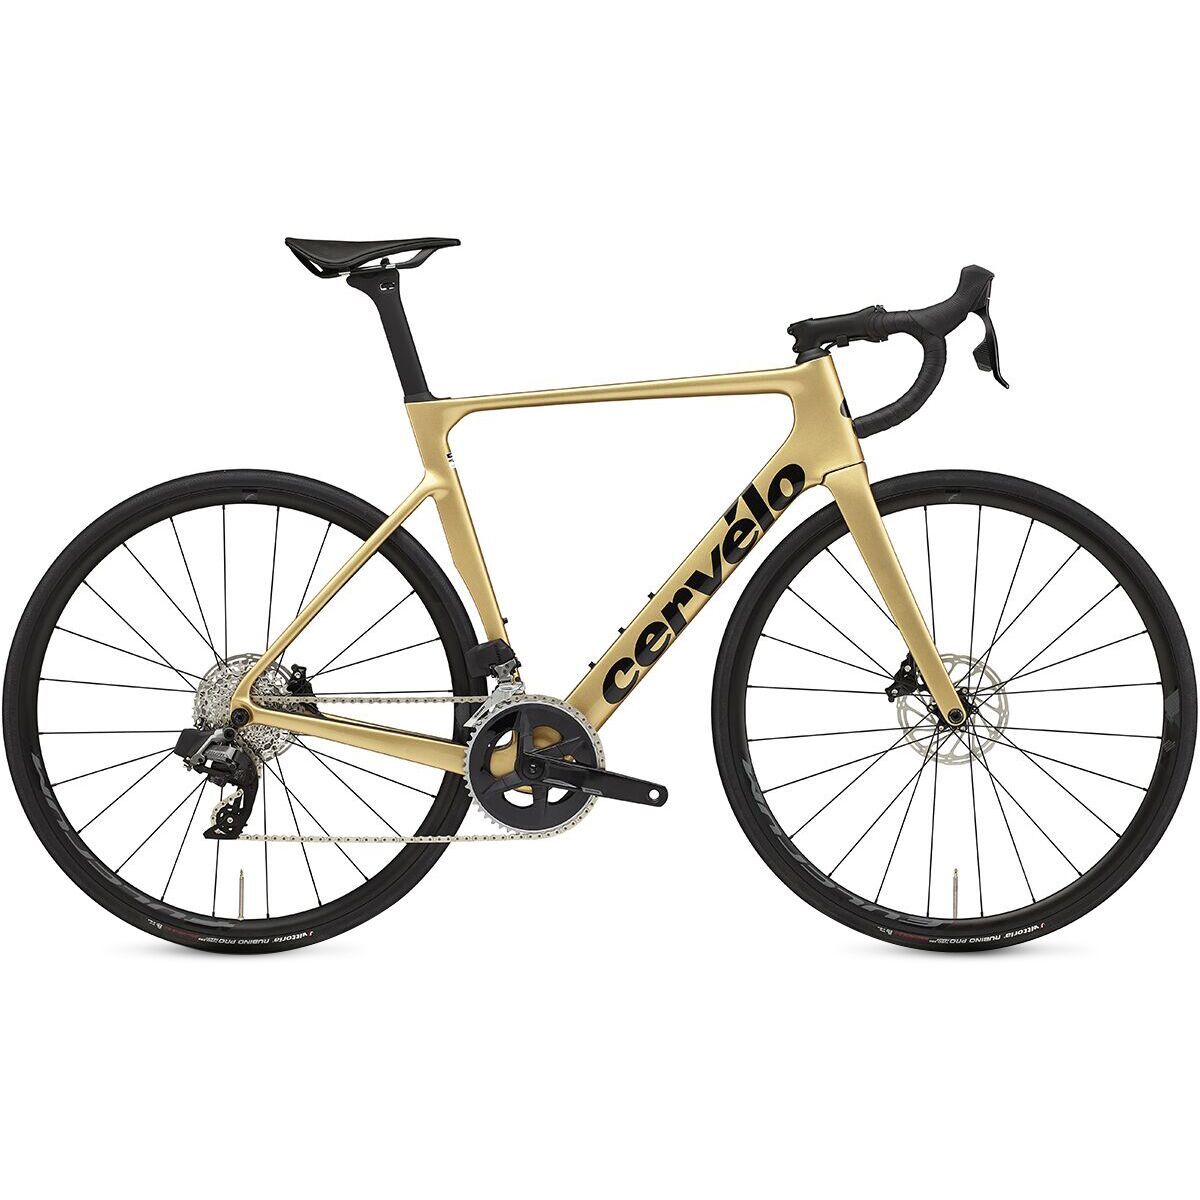
That matters when you're matching your cassette to the correct freewheel body and drivetrain standard. A freewheel body isn't just a place where the cassette slides on—it's the connection point that has to match the wheel's internal system and the cassette standard at the same time. The Mavic Freewheel Body is built to cover a broad range of Mavic mechanisms, including ID360, ITS4, and FTS-L, while also supporting standards like Shimano HG, XD, XD-R, Microspline, Campagnolo ED, N3W, and Singlespeed.
- Mechanism-specific fit: Helps you match the body to the wheel's freewheel system.
- Standard-specific compatibility: Lets you align the body with the cassette your drivetrain uses.
- Broad coverage: Useful across multiple Mavic wheel platforms and cassette formats.
Bottom line: before worrying about spacers alone, make sure the foundation is right. When the freewheel body matches both the wheel and the cassette standard, the install gets much more straightforward.
What to check before you install
Spacer questions usually show up at the end of the job, but the smart move is to sort compatibility at the start. For a cassette on a Mavic HG-compatible setup, work through the check in order instead of winging it.
- Identify your wheel's mechanism. Look for whether your wheel uses ID360, ITS4, or FTS-L.
- Confirm your cassette standard. Make sure your drivetrain is using Shimano HG rather than another standard like XD, XD-R, Microspline, Campagnolo ED, N3W, or Singlespeed.
- Verify the freewheel body. The body needs to match both the wheel mechanism and the cassette standard.
- Then address the spacer. Once the interface is confirmed, you can determine whether your cassette needs any additional setup for that HG-compatible body.
This order matters because a spacer can't fix the wrong interface. If the body doesn't match the wheel mechanism or cassette standard, adding parts and hoping for the best is like trying to tune a derailleur with crossed cables—creative, but not the kind of creative anyone wants.
How to confirm the final fit
After you've matched the mechanism and cassette standard, check the cassette manufacturer's instructions if available for the model you're installing. Then confirm the cassette is installed correctly for your setup. If anything feels off, stop before the ride and recheck the body, cassette standard, and installation guidance for that setup.
Why shop Backcountry for drivetrain details
Small parts can make or break a clean build, and spacer questions are a classic example. At Backcountry, the goal isn't to drown you in jargon—it's to help you get the right interface sorted so your setup works the way it should. The Mavic Freewheel Body is all about matching wheel mechanism and cassette standard, and that's exactly the kind of detail worth getting right before the ride.
When compatibility gets a little wonky, a Gearhead® Expert can help you cut through the noise and zero in on the right Mavic mechanism and cassette standard pairing. It's practical advice from people who know that the difference between a smooth install and a bench-side headache usually comes down to one small part.
Less guesswork, fewer wrenching detours, more time riding. That's a solid trade.
Why Buy the Mavic Freewheel Body from Backcountry?
When you’re sorting out freehub and cassette compatibility, Backcountry backs the purchase with a Lowest Price Guarantee — contact the team by chat, phone, or text to request a price match on identical items.
- Lowest Price Guarantee — if you find the same item for less elsewhere, Backcountry will match it
- Seasonal clearance — prior-season gear is discounted throughout the year
- Permanent outlet section — ongoing deals for riders shopping with value in mind
- 10% cash back stacks on sale prices — Summit Club+ rewards still apply on clearance items, unlike most retailers
- Helpful, no-pressure advice — Gearheads focus on the right product for your setup instead of steering you to the most expensive option